

Many South East Texas and Louisiana residents are starting the rebuilding process after Hurricane Harvey. Flood cleanup can be a dirty business, but it’s necessary to act fast to save homes. We’ve collected some reputable flood recovery guides and our team’s personal recommendations to get you started on rebuilding.
If you’re looking for a 1-sheeter with the most important information, we like The Red Cross’s Returning Home After a Hurricane or Flood Checklist.
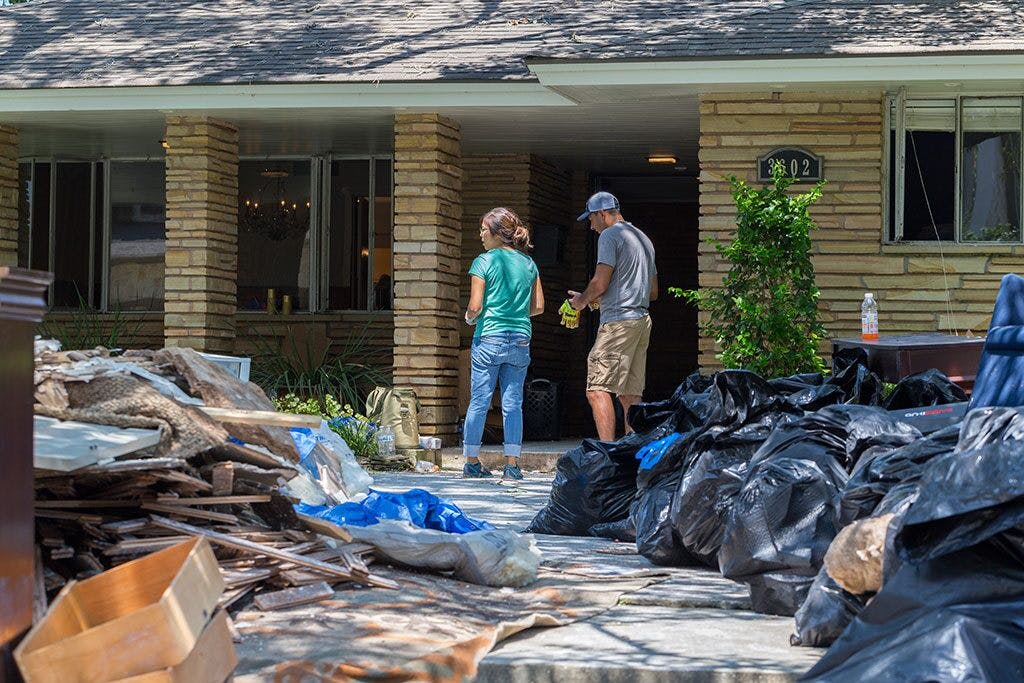
Learn more about how you can support Harvey relief efforts.
Other Helpful Resources for Flood Recovery
Red Cross – Repairing Your Flooded Home
WebMD – Act Quickly to Beat Mold After a Flood
US Department of Housing and Urban Development – Rebuild Healthy Homes
FEMA – Debris Removal Guidelines
Before Entering Your Home
Before beginning any cleanup, make sure you’ve completed the items below. For more details, consult the resources linked at the beginning of this post.
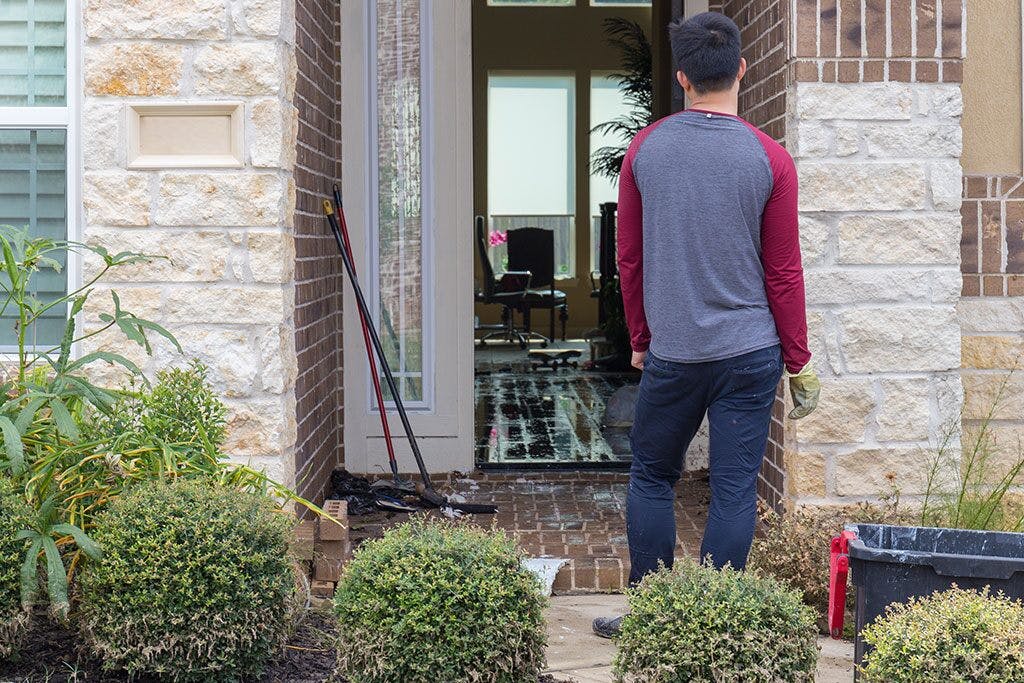
- Be sure water has receded out of your home and it is safe to enter.
- Take photos and/or video of your home for insurance and FEMA claims. Be sure to capture all damaged furniture and the height of the water line on the walls.
- Contact FEMA and insurance companies to start your claims.
- Have professionals verify that your electrical, plumbing, gas, and HVAC systems are safe to use or turned off so that entry is safe.
- Be sure you have the right equipment to stay safe while cleaning your home. Avoid contact with contaminated floodwaters and mold by wearing waders, waterproof boots, rubber gloves, an N95 respirator mask, and eye protection.
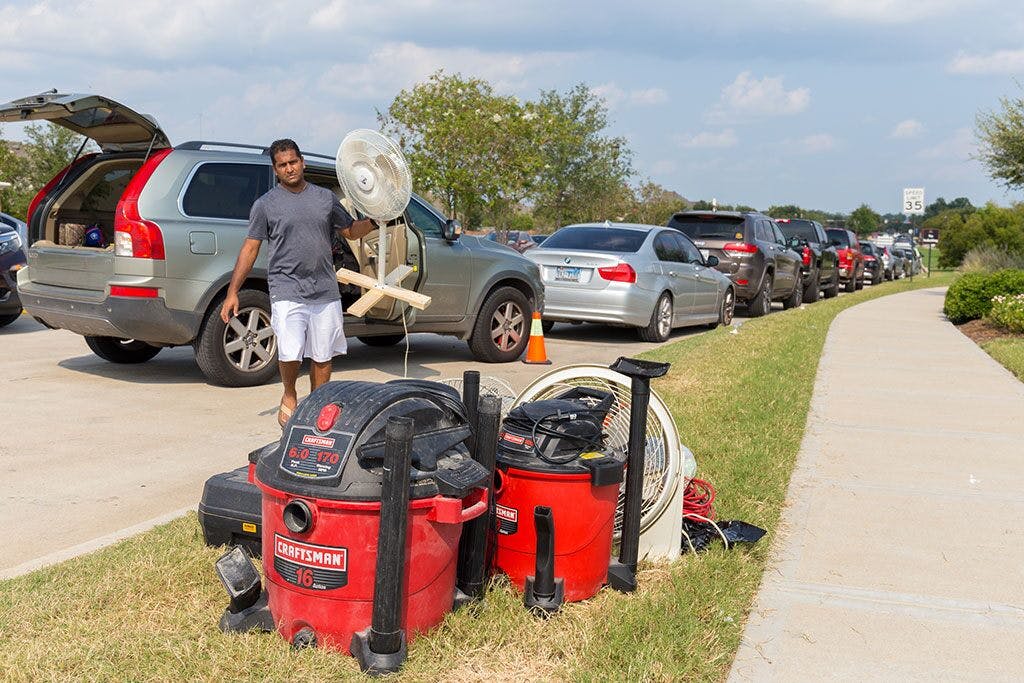
Flood Cleanup Supply Checklist
- Rubber Gloves
- Eye Protection
- Broom
- Dustpan
- Wheelbarrow
- Industrial Strength Trash Bags
- N95 Respirator Mask
- Work Gloves
- Waterproof Boots
- Utility Knives with Replacement Blades
- Oscillating Multi-Tool
- Chalk Line
- Measuring Tape
- Bleach
- Bucket
- Sponges
- Scrub Brushes
- Hammers
- Crowbar
- Flat Head Screwdriver
- Wet/Dry Vacuum
Cleaning and Mold Prevention
These recommendations are based on the research and experience of our team. Before starting any work, please consult the resources listed at the beginning of this post. Contact FEMA or your insurance provided to ensure that any work doesn't interfere with the processing of your claim.
The #1 thing to remember is to start drying out your home FAST. Mold can set in within 24-48 hours after water enters your home. The faster you start removing moisture, the easier it will be to prevent or remove mold.
How to Clean Your Home After a Flood
1. Open doors and windows to increase ventilation and allow your home to start drying. Bring in fans to keep the air flowing and if safe to do so, turn on air conditioning. If mold is already present, do not run air conditioning.
2. Remove all belongings from home. Take them outside to sort through and see what can be salvaged. Throw out any furniture, appliances, and paper items like books that have come into contact with flood water. Water is highly contaminated and keeping that furniture in your home can be dangerous to your health.
However, some photographs, books and important papers can be frozen and cleaned later. Upholstered furniture, mattresses and other porous materials can trap mold and must be discarded. Some wood furniture can be cleaned and restored, but it is often not worth the time and expense.
Glass, plastic and metal objects and other items made of hardened or nonporous materials can often be cleaned, disinfected and reused. Hard, non-porous items like jewelry, china and dishes, glass, porcelain, and metal. Some electronics and small appliances, depending on flooding conditions. Textiles or clothing that has no physical damage can be washed and disinfected.

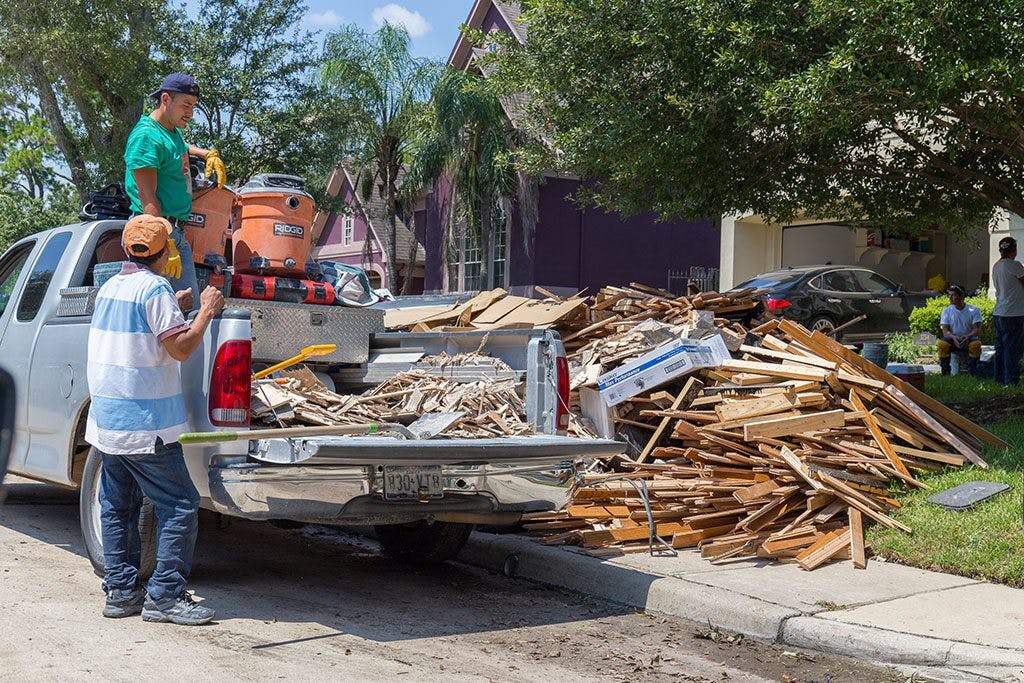
3. Shovel or sweep out any contaminated mud and debris before it dries and hardens.
4. Remove all doors, baseboards, and trim that came in contact with floodwaters. Pry trim away with a crowbar and place with other debris for pickup.
5. Remove all carpet or wood flooring. Cut carpet and pad with a utility knife and roll up to remove. Cut carpet ins trips no wider than 4 feet to make rolling and carrying easier. The wet carpet is extremely heavy.
6. Pry up wood flooring with crowbar and hammer. Remove wood subfloor if present.
Note: Homes built before the 1970s have the possibility of containing asbestos in the drywall, insulation and/or flooring that can potentially cause health issues in the future. Asbestos is safe when contained and undamaged, but very dangerous when broken or friable, such as after a hurricane or while going through the process of restoration. Microscopic fibers can be released into the air and inhaled, possibly causing mesothelioma cancer years later. Please be aware of this and have your home tested and asbestos properly and safely abated before beginning restoration if you believe your home might have asbestos.
7. Remove any remaining standing water from floors with a wet/dry vacuum.
8. Measure at least foot above the water line on drywall. Mark this height on all walls with a chalk line. It can save time later if you remove drywall in 4 foot or 6-foot increments. This will allow you to use full or half drywall sheets without measuring.
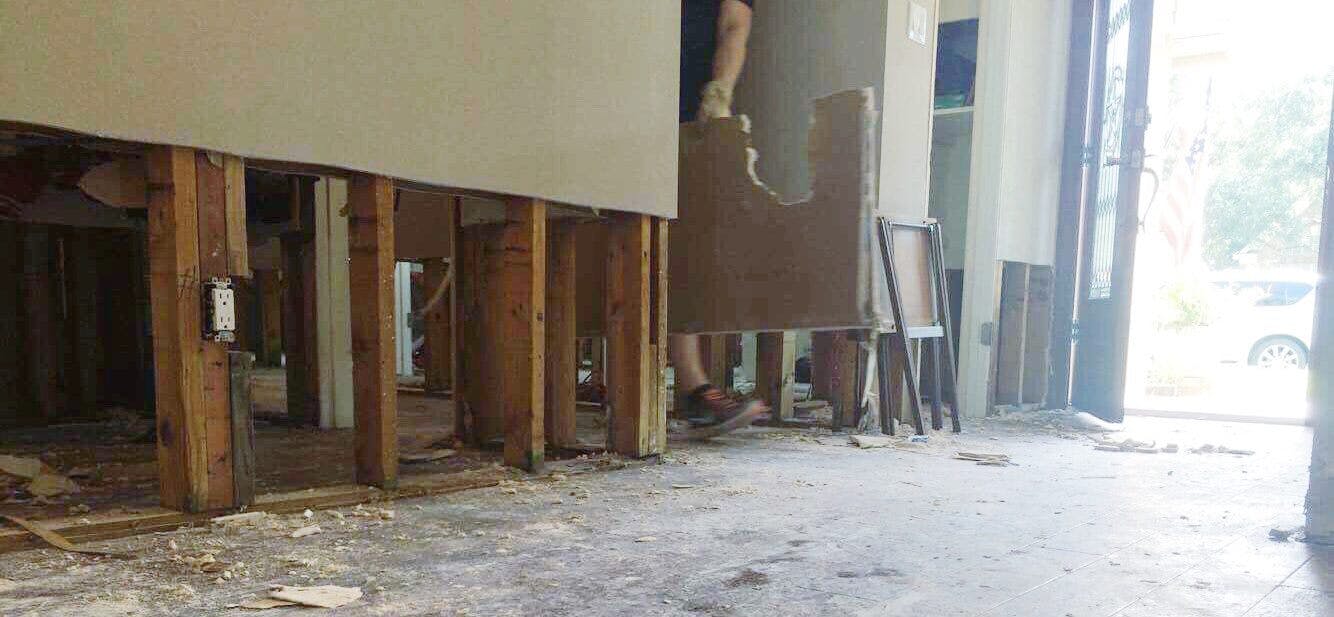
9. Remove all switch plate covers below the chalk line.
10. Cut drywall along the line with oscillating multi-tool or drywall saws. Be careful to make shallow cuts to avoid damaging studs or cutting into wiring or plumbing. 11. Be sure to remove drywall from oft-forgotten spaces like closets, behind toilets, and behind bathtubs. It may be necessary to remove bathtubs to access these walls.
12. Remove any lower cabinets which came into contact with floodwaters. Don't forget to remove drywall behind cabinets.
13. Remove all drywall debris from the house and place it outside with other debris for pickup. A wheelbarrow and shovel or large dustpan can be helpful in doing this. Smaller pieces of drywall can be put in trash bags and placed at the curb.
14. Insulation should be removed at the same height as drywall. Cut with a utility knife, put in garbage bags, and leave at the curb.
15. You may want to rinse off remaining wood framing and floors with a hose to remove debris or visible mold. Be careful not to get any remaining drywall wet.
16. After the area has dried out, clean hard surfaces, including exposed studs and slab with hot water and non-ammonia dish soap. Then disinfect with a 10 percent bleach solution. Be careful not to mix bleach with cleaners containing ammonia, as the combination creates a toxic gas.
17. Leave exposed studs to fully dry for several days to a few weeks. Speed up this process with fans and dehumidifiers. Moisture meters can be used to check when wood is dry enough to begin rebuilding.
Want to Help?
If you’re interested in getting your hands dirty (figuratively – stay protected with rubber gloves!) you can sign up to help with Volunteer Houston.