

You'd be hard pressed to find a window that's perfectly square. Aging homes, shifting foundations and less than perfect construction are just a few contributing factors. Shutters can be especially effected by out-of-square windows which cause doors to rub and crooked looking frames.
Shutters are designed to "float" with a small gap on all sides that accommodates for small variations in window squareness and allow wood to swell and shrink as it does naturally. However with severely out of square windows, there are a few tricks you can use to install wood shutters that are level and function properly.
Measure Your Windows for Squareness
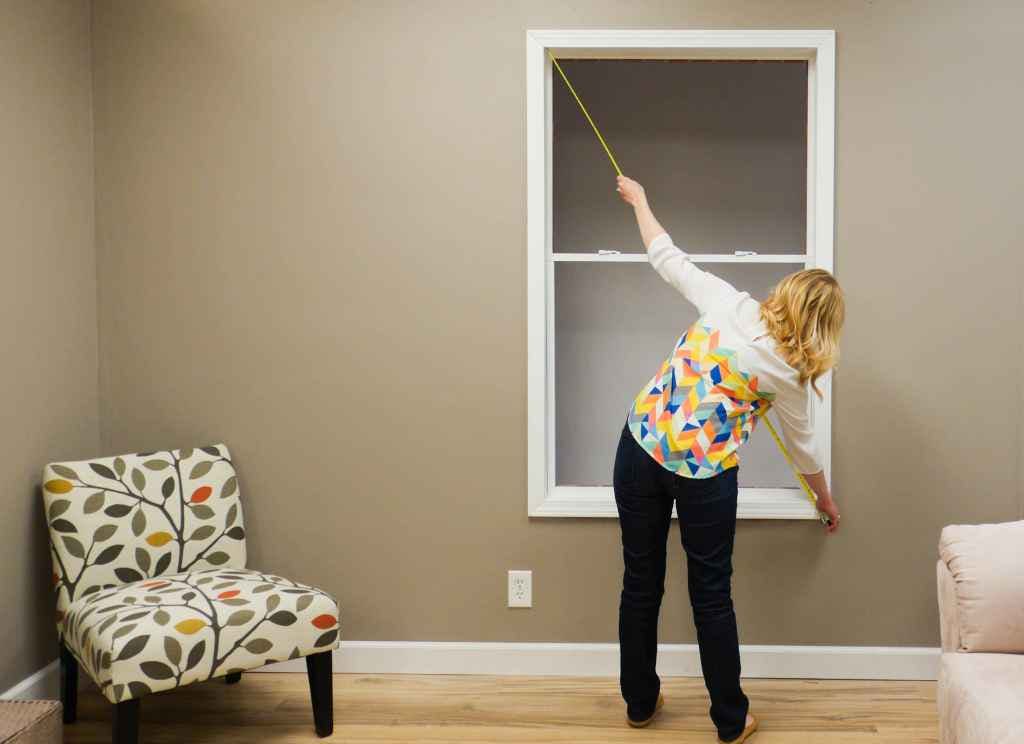
Before you order or install your shutters, start by checking your windows for squareness. Follow our shutters measuring guide for detailed instructions.
Measure your windows in an "X" - from one corner to the other and again for the opposite corners. If these measurements are more than 3/8 inch different, your windows are considered out-of-square.
With out-of-square windows, there are 2 ways to install to compensate for the unevenness.
Option 1:
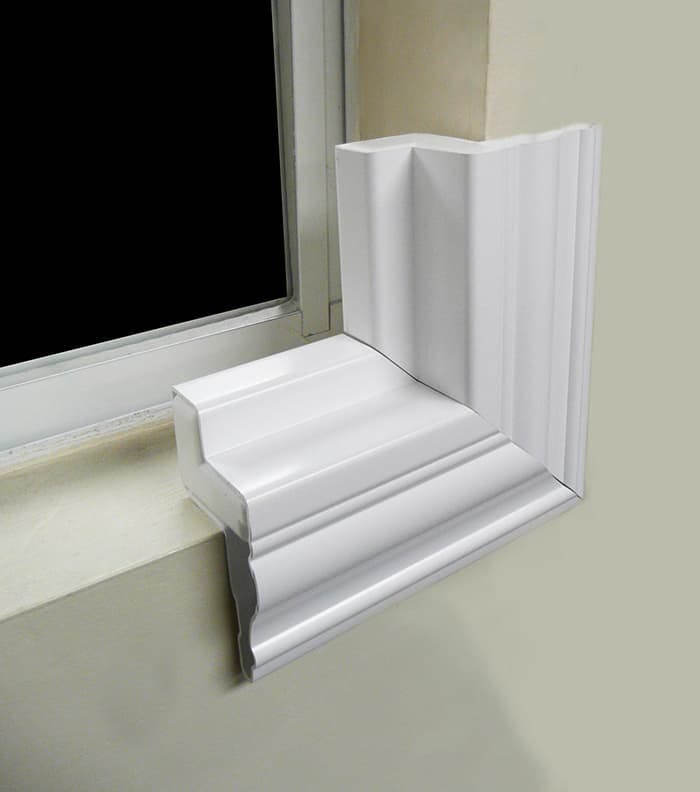
The easiest solution is to mount the shutters outside the window frame instead of inside. The shutter frame will sit over the window opening and cover any uneven gaps. However, the frame will cover some or all of the window's decorative molding, if you have any.
Option 2:
If you want to show off your windows decorative molding and are an advanced DIYer, there's another method you can try. The solution is to order your shutters slightly smaller than the size of your window opening (1/8 inch smaller on height) and level your shutters as you install them using wood shims or by manipulating the mounting screws. This allows you to leave molding exposed for a more seamless look. We'll walk you through this method below.
How To Install Inside Mount Shutters in a Non-Square Window
Blinds.com customer and blogger Seng, who writes at Sengerson.com, created a great tutorial for installing shutters inside a non-square window with wood shims.
Please note: This technique can be tricky and is only recommended for advanced DIYers or professional installers. If you have any questions about ordering or installing your shutters, Blinds.com designers would be happy to advise you.
Below we'll walk you through the steps for this shim method. Ad the bottom of the post we also have instructions for the alternative racking method with the installation screws.
How To Install Inside Mount Shutters in a Non-Square Window - Shim Method
1. Unpack your shutters in a safe area
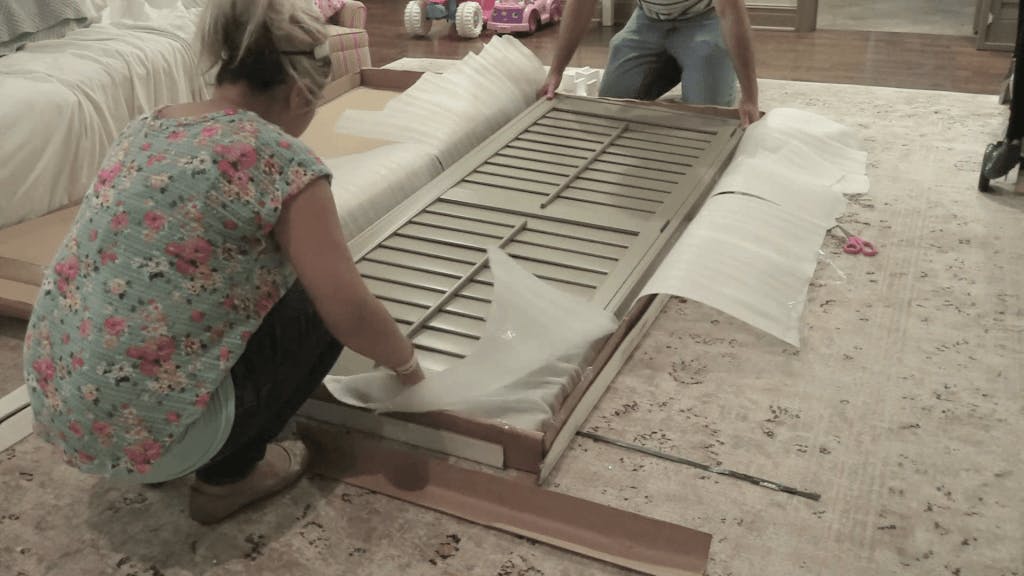
Painted wood shutters can be scratched if not handled carefully during installation. Unpack your boxes in a carpeted area or put a blanket over your work surface. Be sure to keep track of any hardware included with your order and do not remove any stickers on your panels. These will help identify which shutter goes in which window and which way they face.
2. Remove pre-assembled shutters from frames
Some window shutters may arrive pre-assembled, while others may require you to join the frame pieces before installing. If your shutters arrive with the panels and hinges attached to the frame, remove the panels from the frame to make them easier to maneuver during installation.
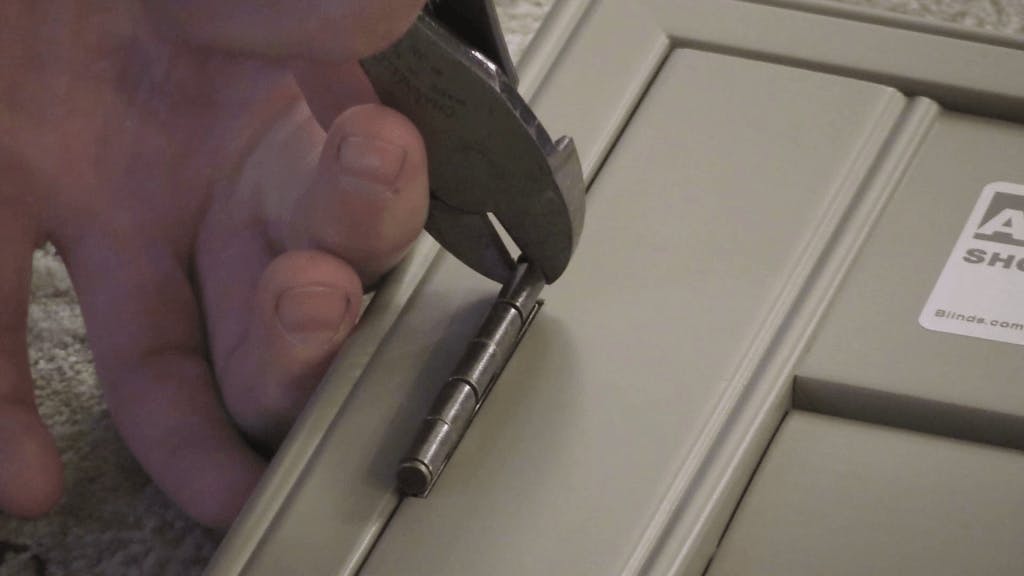
Pry out the hinge pins a bit with wire cutters or pliers, being careful not to scratch the wood.
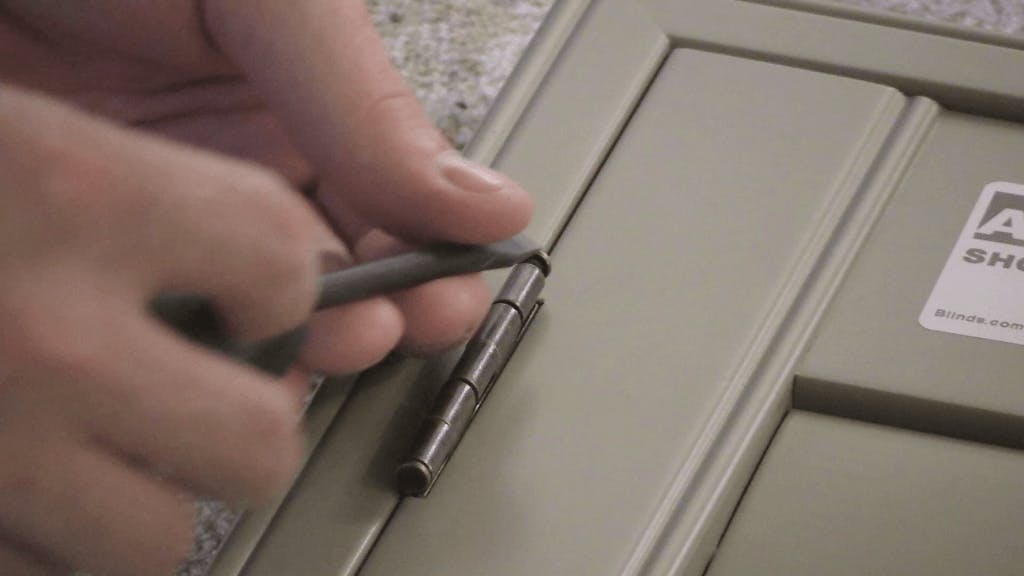
Tap the pin the rest of the way out with a flat head screwdriver.
3. Install one side of the shutter frame with wood shims underneath
As we said earlier, windows that are not square can cause shutter frames to stick when you try to open them. To use this alignment method, you MUST order your shutters 1/8 inch shorter than your window height. Measure your windows with these instructions and then reduce the height by 1/8 inch.
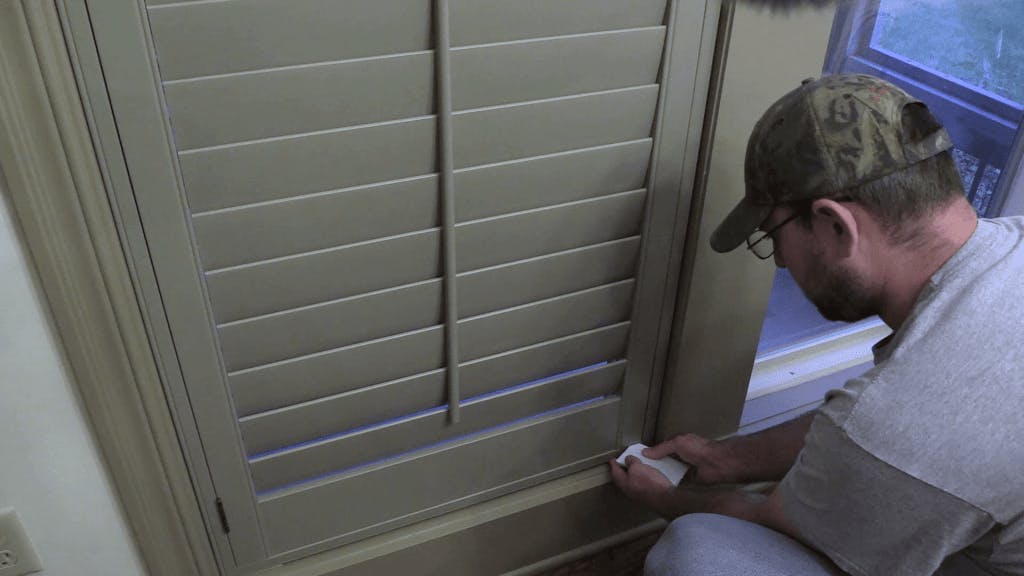
Place 2 1/8 inch pieces of wood in the bottom of your window opening. Seng used spare pieces of laminate flooring, but you can use whatever you have on hand.
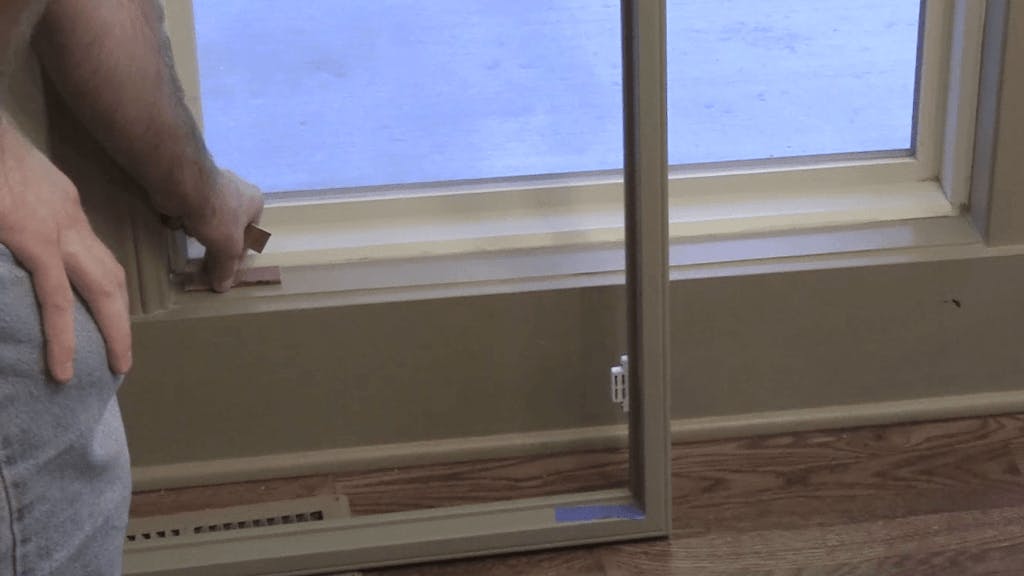
Place your shutter frame in the window opening on top of the wood pieces and align it with the edge of the window opening.
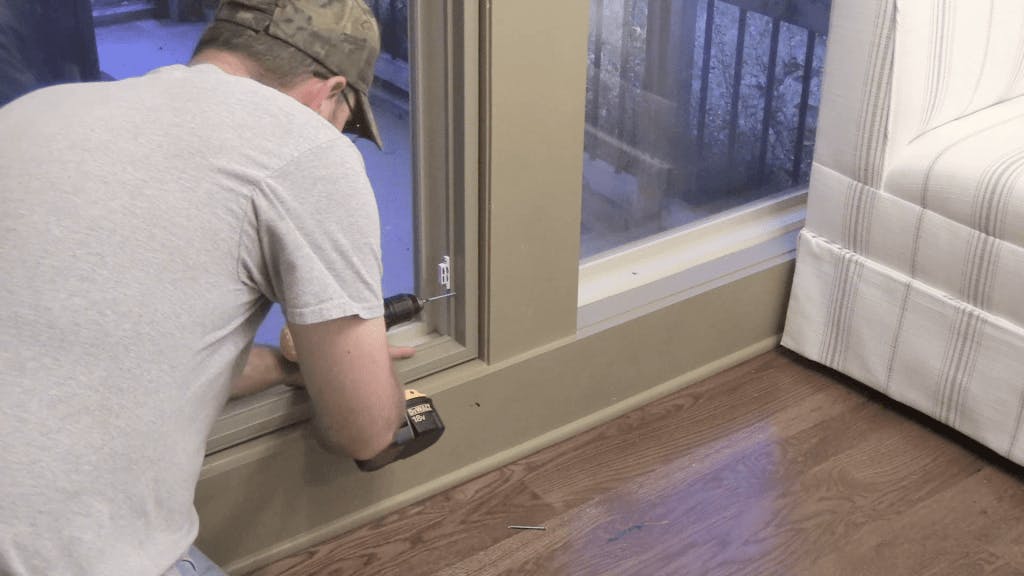
Screw the shutter frame to the window on the hinge side with 2 screws through the predrilled holes. Be careful not to overtighten.
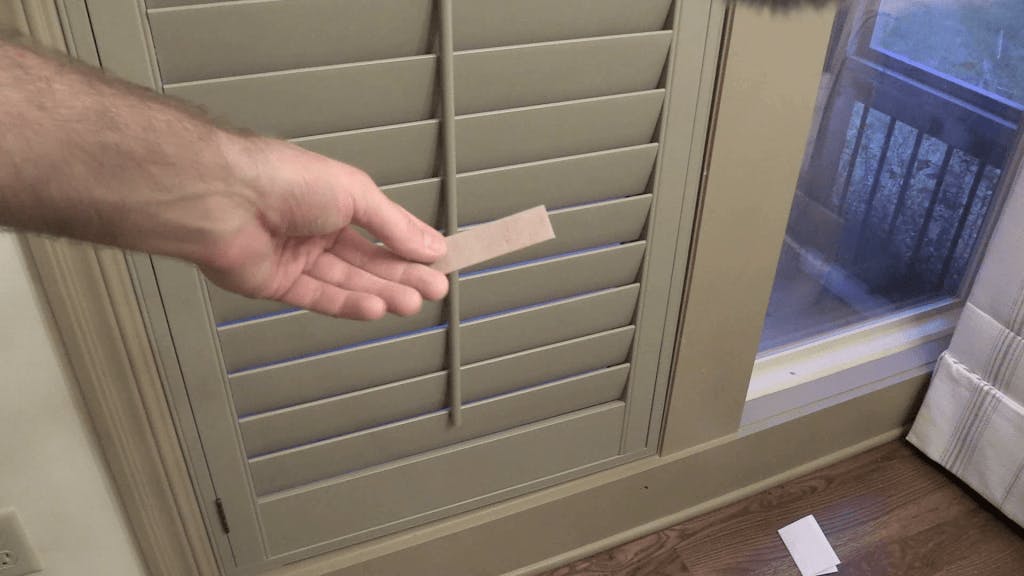
4. Check for squareness with a "feeler gauge"
Align the shutter panel with the frame and re-insert the hinge pins.
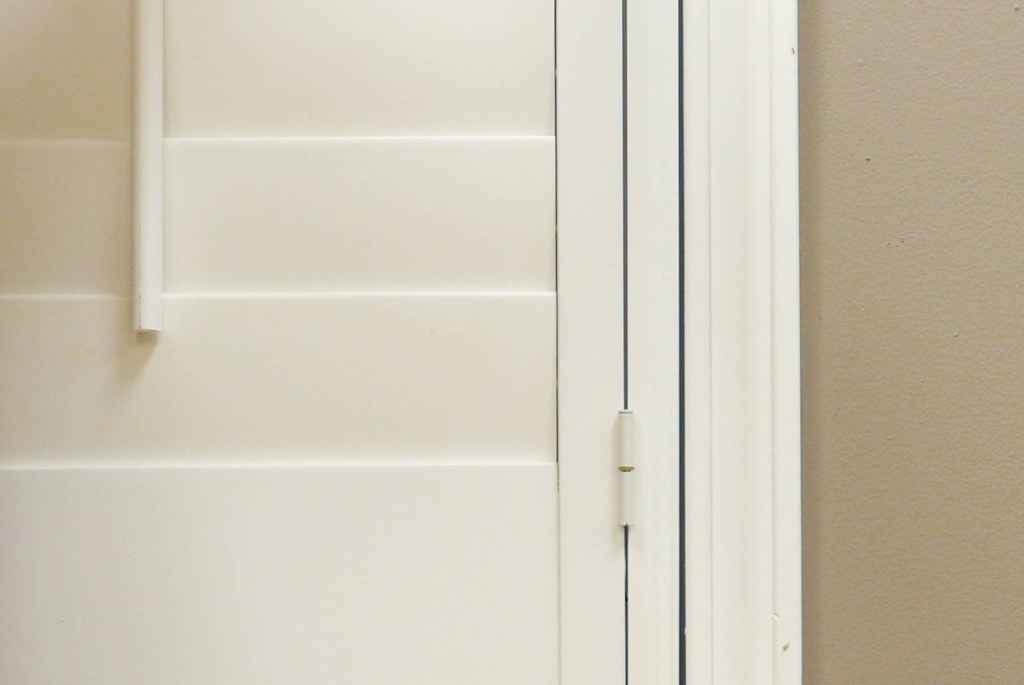
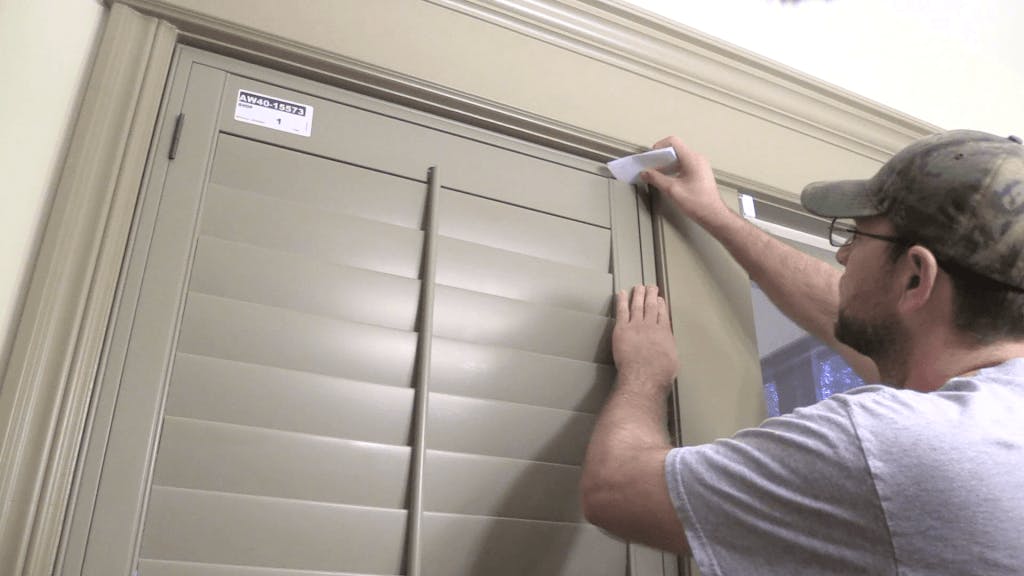
Open and close your shutter panels to see how smoothly they open and how well the corners align with the frame (or if you have 2 panels in 1 frame - how they align with each other). Close the panel and fold a piece of paper a few times to create a 'feeler gauge'. Take the piece of paper and slide it between the shutter panel and frame at the top and bottom on the side where the panels swings open. See if one gap feels tighter than the other.
If your gaps feel even and you panel door opens without rubbing the frame, you can insert the rest of your screws and complete your installation.
If one gap feels tighter than the other, your window is not square. In Seng's case, the gaps felt loose on top and tight on bottom. The means that she needed to take some height off her wood shim on the non-hinge side.
If your gaps feel tight on top and loose on the bottom, you need to take some height off the shim on the hinge side.
5. Sand down shims to adjust squareness

You can make your shim thinner by sanding it down with a belt sander or sand paper.
Reinsert your wood shim and use your paper feeler gauge to check the gaps again. They should feel equal. If not, sand the shim down a bit more.
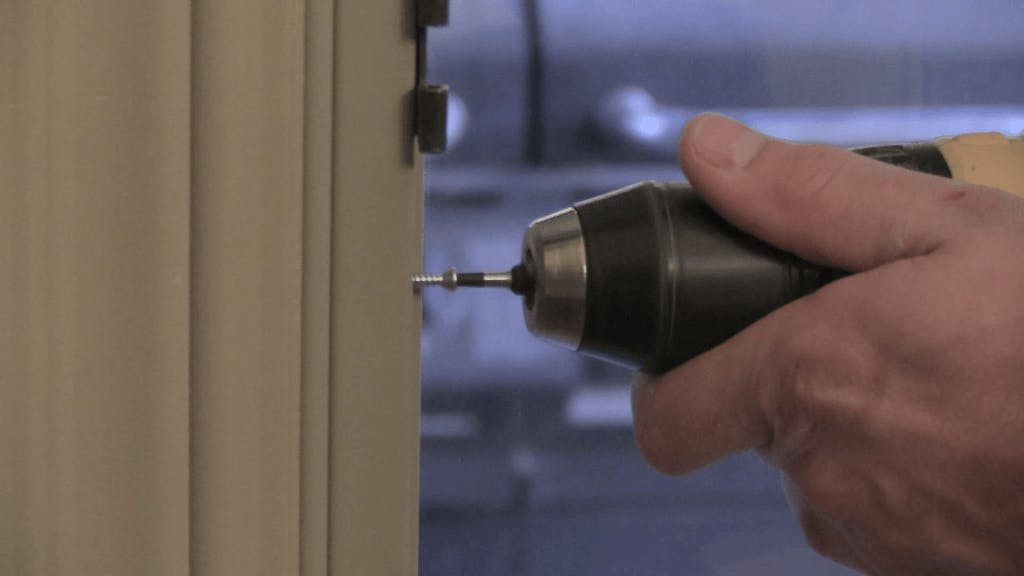
6. Insert remaining installation screws
Once your shutters are square and your shims are reinserted, swing open the shutter doors carefully. Screw the other side of the shutter frame to the window through the predrilled holes.
Once the screws are in, double check the gaps with your feeler gauge to make sure they stayed in place.
Once your shutters are installed, remove stickers carefully. You can also cover the gaps around your shutter frame with caulk. Seng's shutters were painted a custom color to match her trim, so she did not use any caulk.
How To Install Inside Mount Shutters in a Non-Square Window - Racking Method
1. Unpack and remove hinges
Unpack your shutters and remove the panels from the frame following steps 1 and 2 from the shim method above.
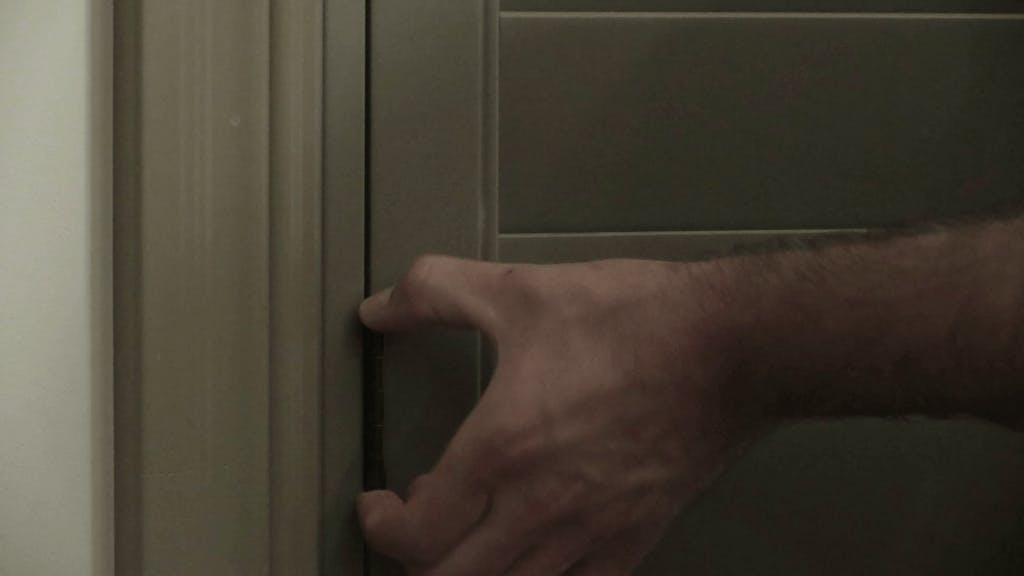
2. Secure top of frame to window opening
Position the frame in the window opening with the bottom resting on the window sill. Align the frame with the front of the window opening.
Insert one screw into the top predrilled hole on either side of the frame. Many people over drill in an attempt to really secure the frame to the window. Try to avoid this. Shutter frames are designed to "float" around the window with a small gap on all sides. We can achieve this by alternating tightening both screws until they are fully secured. If your screws are fully tightened, but there is no gap, back the screws out a bit and a gap should open up.
Once you've inserted the top 2 screws, the bottom of the frame should still be able to move freely.
3. Reattach panels and check for squareness
Now, reattach the panels by inserting the hinge pins. Be sure that you're attaching the correct panels and that they are facing the right way. If you struggle to insert a hinge pin, loosen one screw from the hinge until you can re-align the hinges and insert the pin. Once the pin is in, re-tighten the hinge screw.
Open and close doors to see if there is a gap between the two panels at the top or bottom. If there is a gap, shift the frame left and right to find a position that realigns the panels.
4. Adjust for Squareness with Installation Screws
Secure frame in position with 2 bottom screws. Insert slowly by alternating between the two screws. Stop to check the alignment of the doors frequently as you go.
We want to maintain the gap between the frame and window here as well. If screws are tightened and there is no gap, back the screws out slightly.
Insert any remaining screws, being careful to not offset alignment. Wide shutter frames will be secured at the top and bottom of frame. If you'd like to cover the gap around your frame, you can caulk over it.
Need More Help Installing Shutters?
Blinds.com shutter experts are ready to assist you by phone, email or live chat. Reach out to us at 800-505-1905 or at Blinds.com.